Various Ways on How to Test O2 Sensor (Oxygen)
The main purpose of an oxygen sensor is to make sure that the right air fuel ratio reaching the engine. Most of the car manufacturers recommend the oxygen sensors should be replaced once after 100,000 miles regardless if they are working or not. But this is quite expensive, particular since there are lots of new cars and trucks with four different O2 sensors.
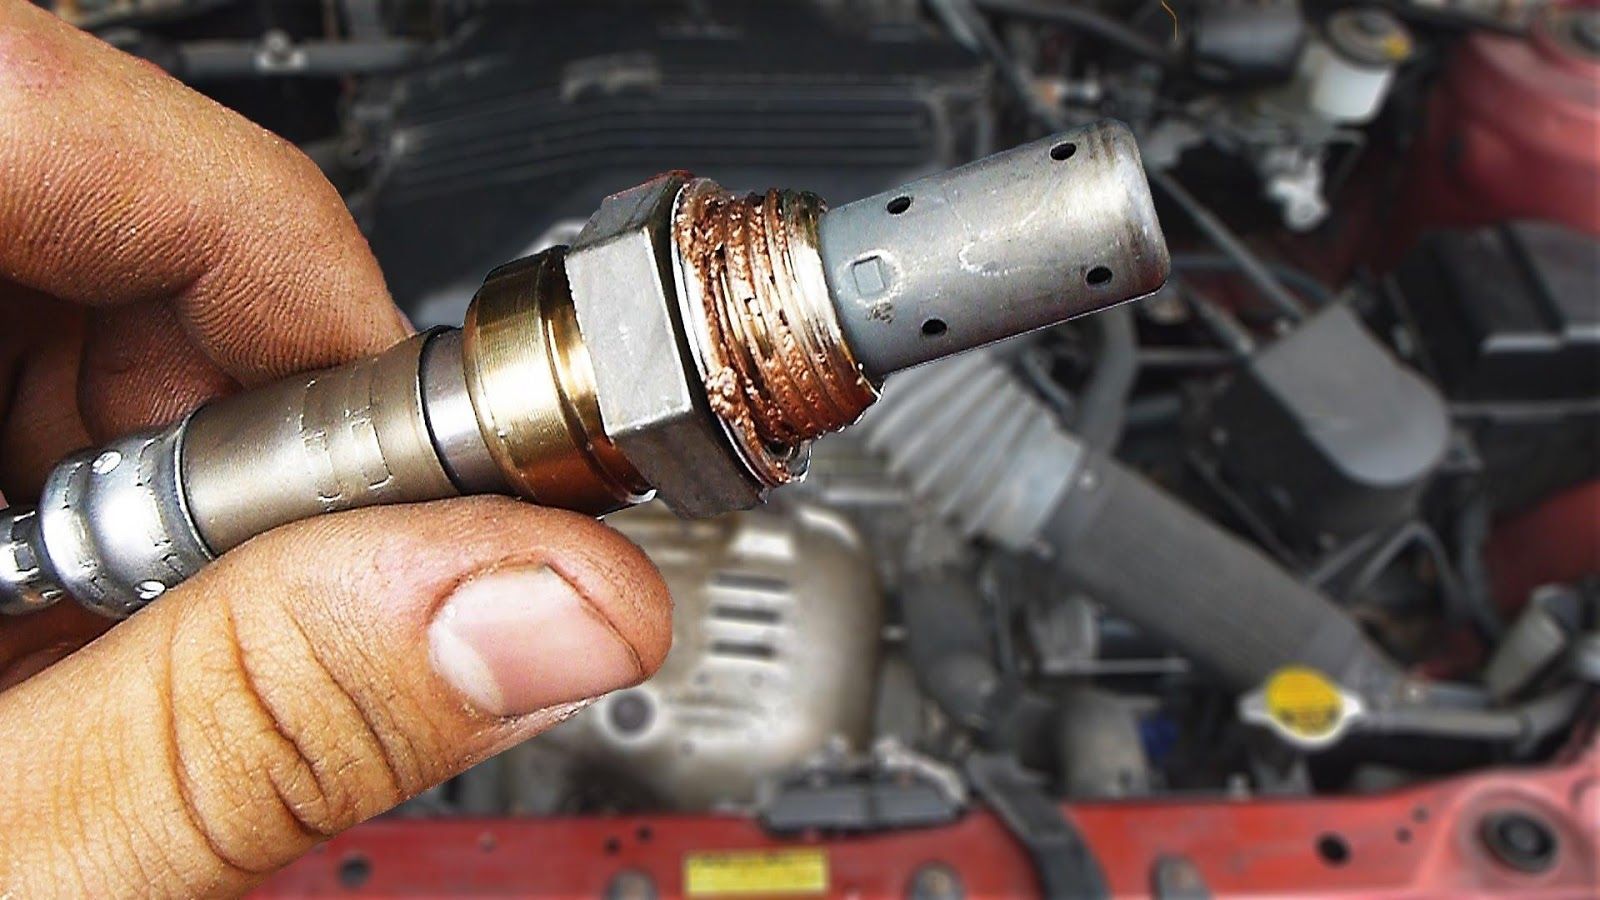
It is best that you test the O2 sensor first before replacing it since the sensor is quite expensive and the problem might not be because of the oxygen sensor itself. Testing the O2 sensor can be done both on the vehicle and off. But some people prefer to test it on the car. If you want to check the oxygen sensor off the car, you can check it visually.

Via https://www.youtube.com/watch?v=_Kr-c8eBl5E
Symptoms of Bad Oxygen Sensor
One of the first signs that you have a bad O2 sensor is a bad engine light. The engine code will show that there is an issue with the O2 Sensor.
If you have a bad O2 sensor, your car will not run efficiently. You might also experience bad idle, difficulty in starting the engine, will cause high fuel consumption, erratic jerking at the steady throttle, and it may cause the check engine light to turn on.
It is best that as soon as you find out that your car has damaged oxygen sensor, it is best to replace it right away.
What You Need:
Steps on How to Test O2 Sensor
This post will include steps on how to test oxygen sensor while on the vehicle.
Step #1 Inspecting the Wires

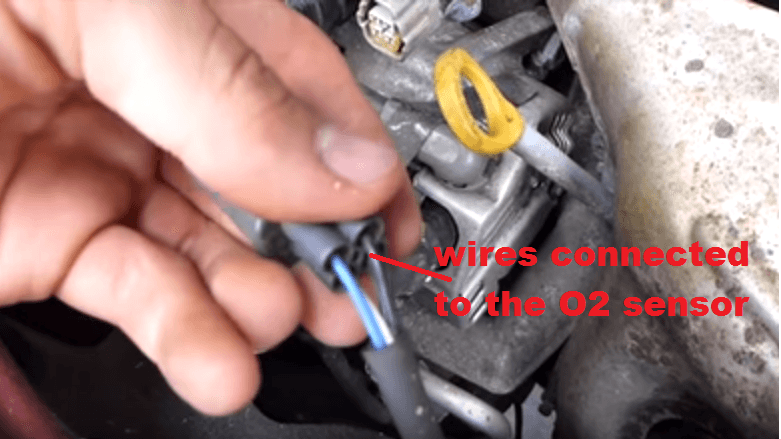
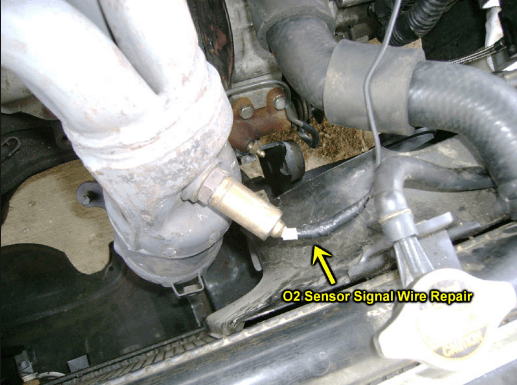
To begin with, make sure that the engine is cold. Then inspect the wire that leads to and from the oxygen sensor. Make sure that the cables are routed away correctly from the exhaust components, and the wires are intact without any damage.
Step #2 - Warm the Motor

Via http://says.com/my/tech/things-you-should-never-do-to-your-car-after-a-flood
Start the engine and let it run until the car is warm, this usually takes around five minutes. The O2 sensors should be around 6000F for an accurate reading. It makes the engine very hot so be careful.
Step #3 - Connecting the Back probe

Via http://www.enduringautomotive.com/how-to-back-probe-a-sensor/
In the oxygen sensor signal wire attach the back probe. Be cautious when using the back probe. The plastic connectors are quite brittle and may break easily.
From the digital voltmeter connect the positive lead to the back probe.
The negative lead of the digital voltmeter to the firm ground part of the vehicle chassis.
Turn on the voltmeter and set it at 1-volt scale. The oxygen sensor’s voltage will fluctuate from 100 to 1,000 millivolts, which is 0.1 to 1.0 volts, thus having a quality voltmeter is a must.
Turn on the engine again and check the reading on the voltmeter. It should fluctuate fast. If the result remains at 0.5 volts, make sure that the car is fully warmed up. If your engine is warm enough and the oxygen sensor remains unchanged, then there is a problem with the sensor, and you may not continue the test.
Step #4 – Make a Vacuum Leak

Via http://www.dewitzdiagnosticsolutions.com/rough-running-1992-toyota-celica/
The next step is creating a vacuum leak to make sure that the O2 sensor reacts well to a lean air-fuel mixture. A vacuum port is usually found in many vehicles on the top of the engine, which you can open to make a vacuum leak. A leak can cause the voltage to drop below 0.1 volts and rise up to .5 volts if the leak is plugged afterward.
Alternatively, in case your vehicle does not have a vacuum port, or if it makes your vehicle stall if you create a vacuum leak, you can use the propane enrichment test. To do this add propane gas into the air intake, it may cause the voltage of the O2 Sensor to rise.
An alternative to a propane test, you can slightly close the choke, which will make the voltage of the O2 Sensor rises. If after several tests the voltage does not change, the oxygen sensor is damaged and need to be replaced.
Helpful Tips in Testing O2 Sensor
Keep these Things in Mind
Final Words
Now that you know how to check the oxygen sensor, you will know if the unit is working or it need replacement. By following the above steps on how to test O2 sensor, you will be able to save money and time, and you can fix your car sooner. You can also check the service interval for your oxygen sensor in your manual.
As you drive longer distance, the exhaust by-products block the tip of the unit that keeps the sensing element protected. Once the sensor efficiency declines, the engine performance is affected. The sensor will stop working. It is an indication that you need to replace it at the suggested schedule to regain fuel efficiency and drive down emissions.
