7 Essential Steps on How to Flush a Radiator – Helpful Guide
An efficient radiator is vital to prevent your vehicle from overheating. The process involves the liquid coolant, which is warmth by the motor, then heat exchange takes place once it passes the radiator and cools it down. Once the radiator gets clogged up by dirt and the coolant becomes less efficient, the performance of your engine will be affected as well as the gas mileage. To prevent this from occurring, you need to clean your radiator at least once or twice in every five years. This how to flush a radiator post will guide you on how to do it step by step.
What You Need:
Step by Step Method on How to Flush a Radiator
Before you start working on your radiator make sure that you put on your safety gear (goggles and work gloves). Position your vehicle in the working area and make sure you have prepared everything you need.
Step 1 – Cooling the Engine and Preparing Your Vehicle
Make sure the engine is cold. If not you might not be able to work otherwise. The engine is the coolest when it has not in use for two hours. This step is very vital as the coolant becomes very hot on a freshly used engine and it can result in injury if it gets into your skin.
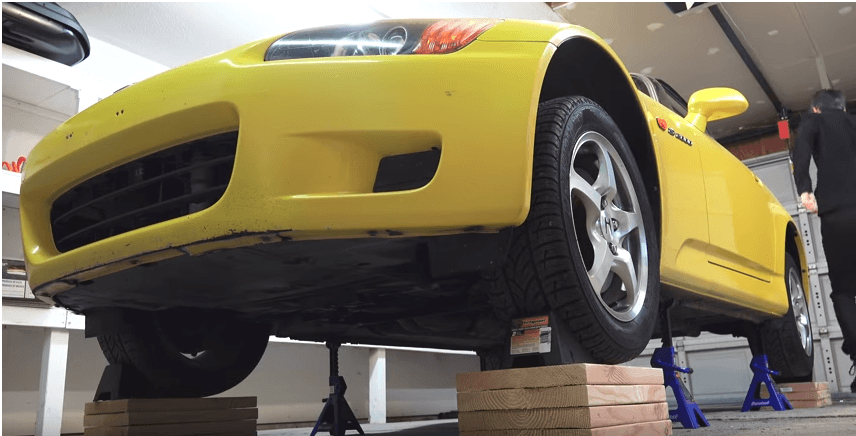
Using the jack, lift the front of the car. Although this is not a must, it is much easier to work underneath the radiator when it is raised. It also prevents the formation of air bubbles from your coolant during flushing.
Step 2 – Open the Hood and Check the Radiator
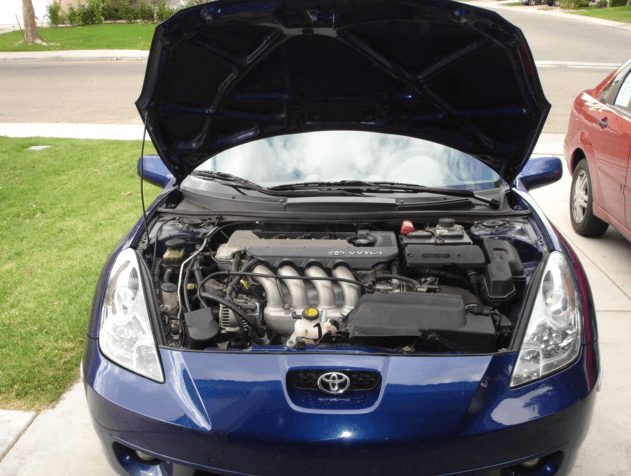
Open the hood and locate your car’s radiator. You can find it near the front part of the vehicle near the engine. On the back and front of the radiator, you will see the metal slats. It allows air to move throughout with a nylon brush and soapy water. Remove the dirt and grime by brushing in the direction of the radiator.
Cleaning the slats is not possible as the A/C condenser is usually mounted in front the radiator that blocks the slats.
Step 3 – Make Sure Your Radiator Works Efficiently
Check for patches of corrosion, leaky hoses and pipes, and rust. If in case, you can smell the antifreeze while driving, you need to bring your car to a mechanic for repair instead of just flushing it.
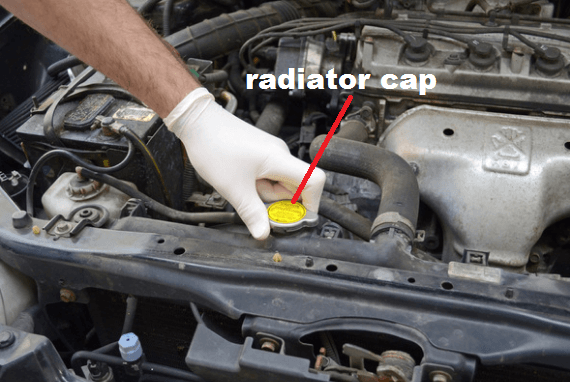
The radiator cap serves as a covering to keep it pressurized. It has a spring coil that stretches between a rubber seal and a broad flat metal top. The tension generated between the spring and the seal enables the radiator to keep the proper pressure. If in case one of the parts worn out, you need to replace the cap.
Two hoses or tube run from the radiator. The lower hose is where the cold coolant enters the engine through the coolant pump, and the top hose is where the hot coolant passes through the radiator. Make sure the tube is at best shape, to keep the coolant flows appropriately.
Step 4 – Place a Drainage Pan Below the Radiator’s Drainage Valve or Petcock
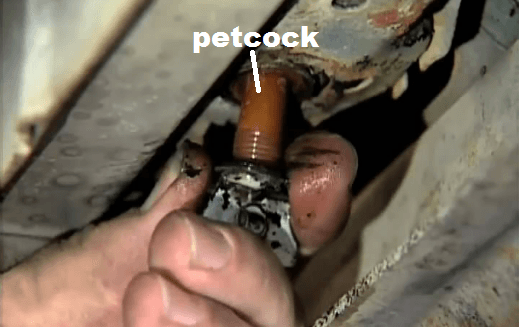
The petcock has different sizes and shapes. Remove these small plugs to drain away fluid. Place a pan underneath petcock to collect the fuel when you drain it.
Attached at the bottom of one of the radiator tanks and the only bolt that you will notice there is the petcock. Remove a small plastic covering from underneath the radiator using the screwdriver to get to the drainage valve. Pull out the petcock to drain the radiator. Make sure you have put on your gloves for this step since radiator coolant is dangerous. After removing the coolant, replace the lid and set it aside.
Step 5 – Flushing the Radiator Using Water
Empty the radiator by removing the petcock. Put on your work gloves as this step involves the radiator coolant which can cause injury when it gets contact with your skin. Cover the drainage pan after you have thoroughly drained the coolant, and put aside. You can take the drained fluid to the nearest mechanic to be recycled.
Use water in flushing the radiator. Draining the radiator can get rid only of 40 to 50% of your old coolant. Thus, you need to wash it with water to completely get rid of the old coolant. Here’s how to do it:
In the radiator, replace the petcock.
In the fill spout, insert the garden hose and fill with water until it reaches the line.
Start the engine and let it run for ten minutes. Allow the car to cool down before working on it again.
Open the small plugs and allow the water to spill out into the pan. Since the drained water contains the hazardous coolant in the radiator, you should recycle it as well. Do not let this water flow into the ground.
Do this process two to three times.
You can also use radiator flush cleaning solutions to mix with the water to flush the radiator. Make sure that you have drained the mixture thoroughly before pouring a new coolant.
Step 6 – Adding the New Coolant
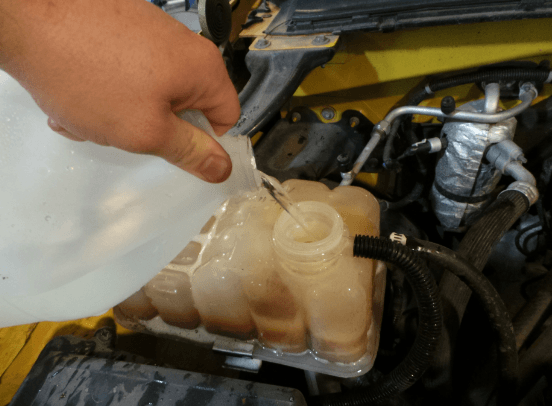
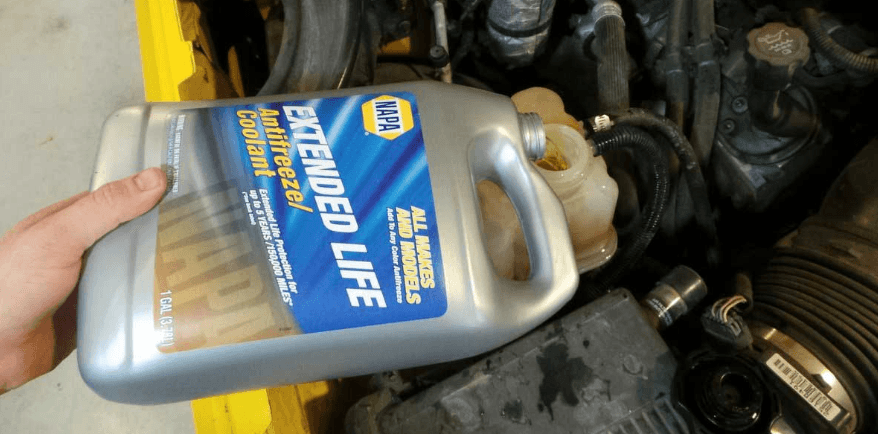
Pour the new coolant up to the line. The best coolant contains 50% antifreeze and 50% distilled water. Mix the two ingredients in a big bucket before adding them to the radiator. Make sure you choose the right coolant for your car.
For coolant suggestions, check your owner’s manual, or you can go to the local auto shop and provide them your car’s make, year information, and ask for advice. You also need to know the amount of coolant you need. It may vary from 6 to 18 quarts.
The majority of the vehicles use green coolant, but Toyota cars need red. The coolant with an orange color is newer and has a longer shelf life, but it best that you use the same color of coolant every time you change it. Mixing coolants can result in coagulation and lead to expensive repairs.
Step 7 – Get Rid of Any Air Pockets
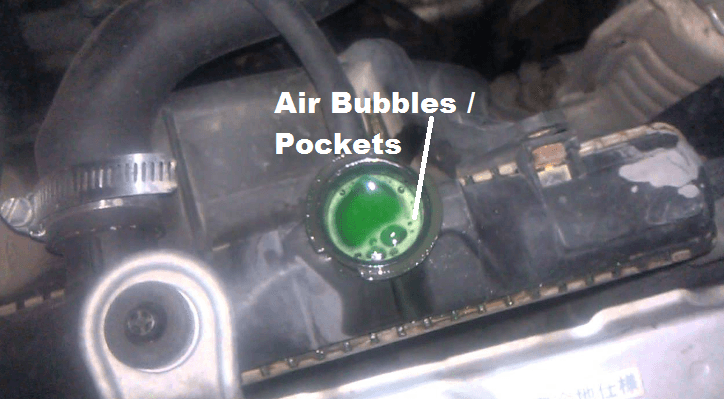
Remove the radiator cap to allow the air to escape, then turn on the engine. Leave it run for 15 minutes and turn on the heater, let all the air voids escape the radiator. It produces more room for coolant, so add more coolant up to the line again.
Final Words
Since flushing the radiator involves coolant which is dangerous when it gets contact in your skin, you need to take note of all the safety precautions mentioned in this guide. Hope you find this post helpful to you. If you think others you know can benefit on this feel free to share it with others

